Background and Inspiration
I have never been a big gamer, but like every millennial, I do enjoy the nostalgic and retro. Forgive me as I glance back through history at my fond childhood memories:
- Street Fighter (Blanca and Long-armed dude) on my cousin’s Super Nintendo at Grandma’s
- Gameboys gifted from Grandma (possible inspired by our Super Nintendo play) and playing Star Wars for the entirety of the 6 hour journey to her house
- Oregon Trail (of course) on my elementary school’s monochromatic Macs
- Nintendo 64 at my childhood friend Ryan’s house - he was so good at 007 Golden Eye so we always had to play Mario Kart to be a challenge
- Doom played my dad to Mom’s chagrin on our first desktop computer in the early ‘90s
- MS Paint on the desktop because Mom hid the Doom disk
- DOS games on disks including a surgery game from a garage sell
- Driver on PlayStation 2 after my parents broke down and bought us the most popular console ever sold for Christmas in middle school – I obsessed over it but never got pass one level
- Red Alert 2 on our desktop (beating both Allies and Soviets) and then retroactively playing Command and Conquer and Red Alert 3 simultaneously
- Mario Kart and Wii Sports, especially Tennis, with my family – we still play at family gatherings
- Original Nintendo Entertainment System (NES) from somewhere in College – I wish I still knew where that is
- Sega Genesis that my wife got me for Christmas because I still talk about where that NES is at
Two things came together to inspiring me to look into retro gaming systems. The first was my wife talking about playing Dr. Mario/Tetris, her favorite SNES game as a child and Mario Kart on N64 in college. The second was spending time a day during a slack week before school with a friend in Chicago and playing classic games using his PlayStation 3 controllers and his laptop. I called my mom, but turns out PS3 have USB but PS2 do not. I needed an adventure, so I started on a quest to get a classic retro game system.
Required Hardware and Equipment
| Ingredients | Cost |
|---|---|
| Emulator Software | Free |
| Raspberry Pi | $35 |
| Super Nintendo Controllers with USB | $10 |
| HDMI Cable | On-hand or $5 |
| Mini-USB cable and wall socket (power supply) | On-hand or with $15 kit |
| Raspberry Pi Case and Heat Sinks | Optional or with $15 kit |
| MicroSD card (with adapter or reader) | On-hand or $8 |
| Game ROMS | Free |
Emulator Software
After some cursory research online, I found open source emulators are freely available online for nearly every system out. An emulator does what it sounds like: it emulates the system. For example, a Super Nintendo emulator is a software program that allows you to run Super Nintendo programs (i.e., games) on another computer by mimicking the Super Nintendo operating system.
Raspberry Pi
You can download emulators for your PC, but I did not want the hassle of hooking my Laptop up to our TV each time I want to play. Fortunately, most emulator sites kept mentioning Raspberry Pi, a $35 microcomputer, so I looked it up. Basically, it is meant to be a stripped down version of a full computer that can be used to tinker on without breaking the bank. To cut on costs, everything unnecessary is removed and you are left with a simple computer chip with a few basic ports. The uses for Raspberry Pi are surprisingly numerous. Since I have a child on the way, I justified the purchase as it could become a baby monitor after it is a retro gaming console.
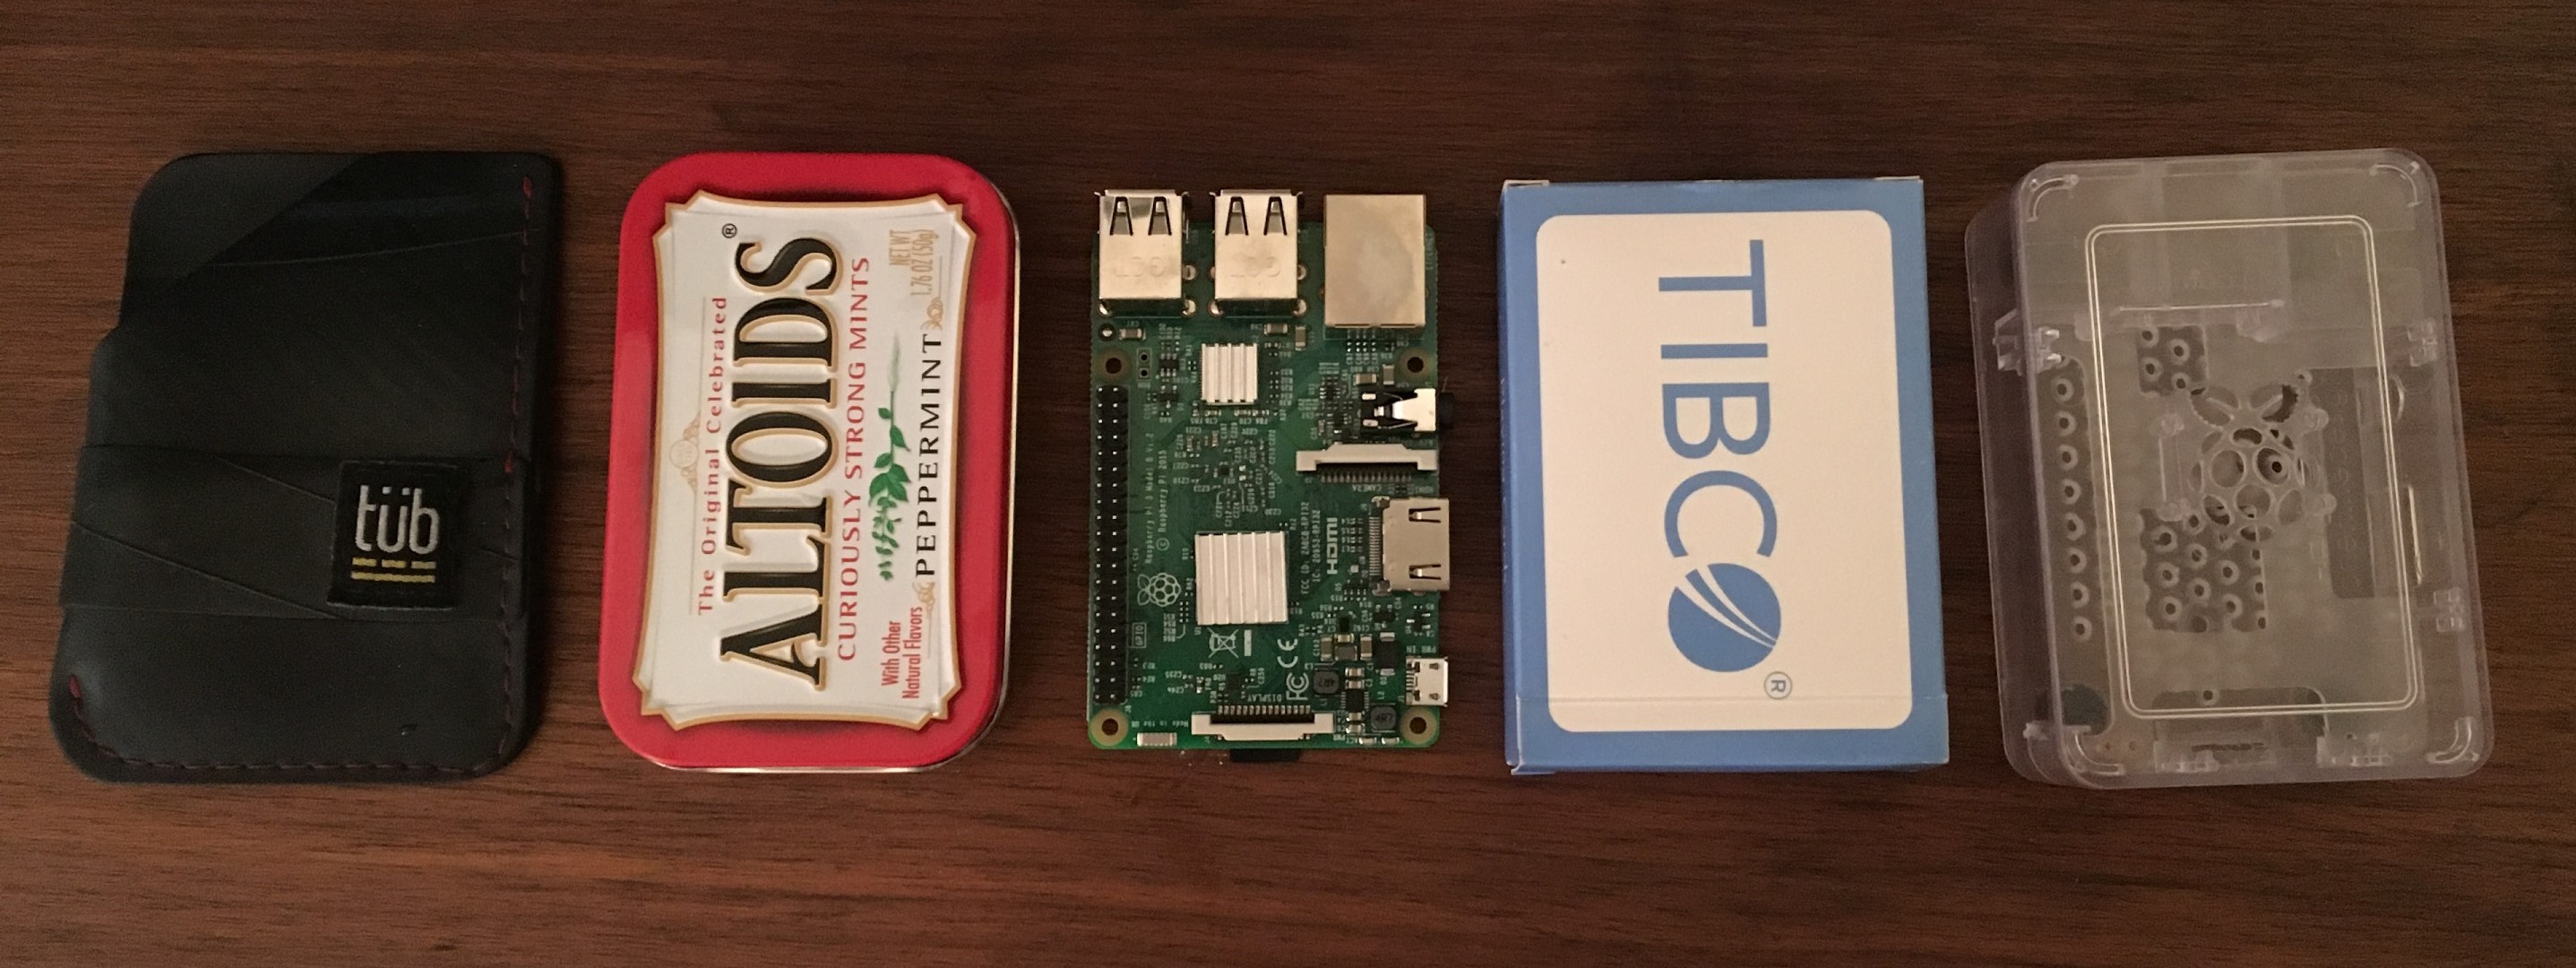
Also conspiring to this project has been my long desire to buy something to test Amazon’s same-day delivery. At 11:50am, I submitted to the purchase to test what seems unreasonably fast for me. My phone buzzed 6:20pm and sure enough my package had arrived. When it arrived I was shocked with how small it is! It comes in a little folded brown paper bag that looks like something you would hand out as a wedding favor. It is tiny. I experimented fitting the credit-card sized chip in a wallet, an Altoids case, and a deck of cards, pictured below center with a case on the right.
Power Supply, Heat Sink and Case
I opted to pay $15 more for a starter kit that included a case, power supply and heat sinks. If I was to do this again, I would not by the starter kit. First, the ethos behind the Raspberry Pi is to be able to tinker and people get creative with their own custom cases. The power supply is just a micro-USB cord and I have several of those from old cell phones and free Bluetooth speakers. I read that the heat sinks help, but they are not necessary. If you really want them you can buy them separately for $1.50 and you just remove the film and they stick on.
MicroSD Card
The only thing I forgot to order is a microSD card. I had one from an old camera or an old Samsung Galaxy (back when you had removable microSD cards), but I did not have a microSD card reader so I could not connect it to my computer. I tried connecting it through the Samsung Galaxy, but the phone was too far gone. I had to make a quick trip the local FedEx-Kinko’s and fortunately the prices were reasonable. The new card came with both an SD adaptor and an USB adaptor.
The way Raspberry Pi works is you download the operating system and software to the MicroSD, then stick it in the Raspberry Pi slot, power it up and it goes. I did not bother loading or installing the software that came with the kit’s instructions. Instead, I just went an emulator called Lakka. Lakka is actually an operating system, based on Linux, which includes emulators for every retro gaming system you can think of. The website has dummy-proof instructions on how to load it onto a MicroSD, pictures and all.
Controllers and Putting it All Together
So I loaded Lakka onto the MicroSD card, hooked up the HDMI to the Raspberry Pi, plugged in the Super Nintendo look-a-like controllers and stuck in the power cord. To my great surprise, it really was that easy. The whole thing worked and I was staring at the beautiful Lakka flower graphic and then the homepage.
Game ROMs
The only bit that gave me a bit of a problem was getting game ROMs onto Raspberry Pi and Lakka. A game ROM is basically a game in its software format that the operating system (in our case the emulator) reads. Game ROMs are copyrighted it is illegal to distribute them, but the internet does not care about that. Game ROMs can be downloaded from a host of sketchy websites. I was careful not to download any .exe files and not ever run the files on my laptop. Lakka suggests games from a “No-Intro” group. Long story short, No-Intro is a group of volunteer coders that try to preserve the retro and classic games as they were original distributed. Turns out mutated and bloated versions of games are floating around the web, I certainly downloaded a few of those ROMs.
It took a while a reading through forums to find how to get clean ROMs from No-Intro since it is a legal grey area. Download them here. Then move them to Lakka per its instructions. If you have connected your Lakka to your internet, either using an Ethernet cable or setting up the WiFi in the settings menu, then Lakka should appear in your Network. For me, this sometimes took some fiddling, unplugging and plugging Raspberry Pi back in, closing and opening Windows Explorer. But it showed up and I added the games. Then scan your games per Lakka’s tutorial and you are good to go!
Enjoy Your Retro Gaming!
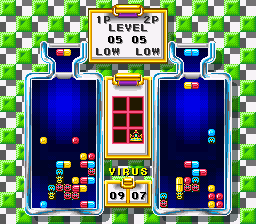
Personally, I have been enjoying the electronic tunes from Top Gear. My pregnant wife has been all about Dr. Mario. Maybe our Raspberry Pi won’t become a baby monitor after all. Let me know what your favorite games are in the comments